 |
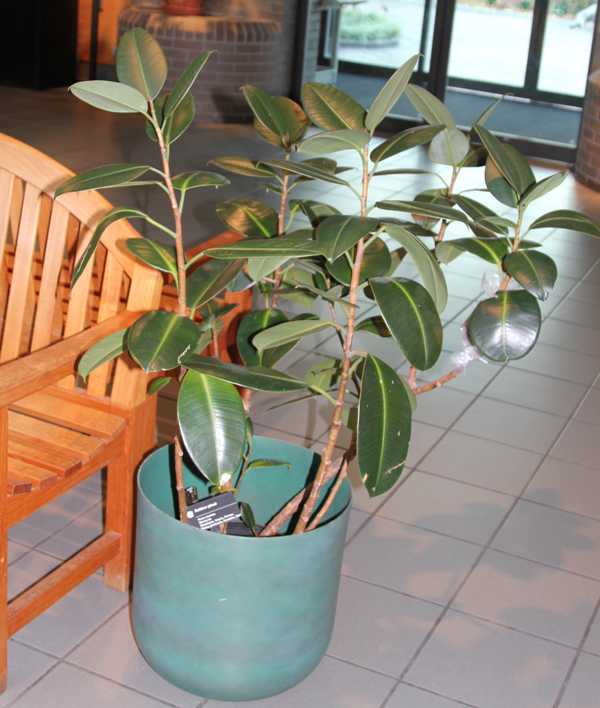
Select a plant
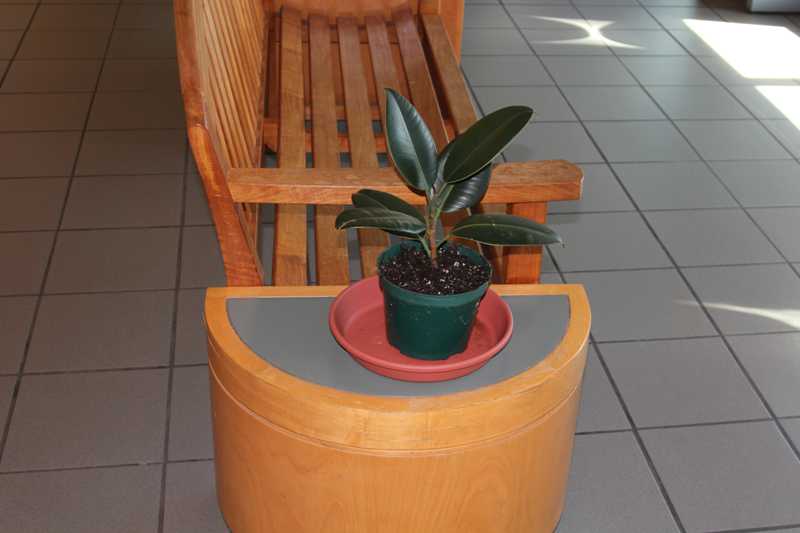
Select a dicot plant that you want to propagate, such as, the India rubber tree, Ficus elastica, pictured here.
|

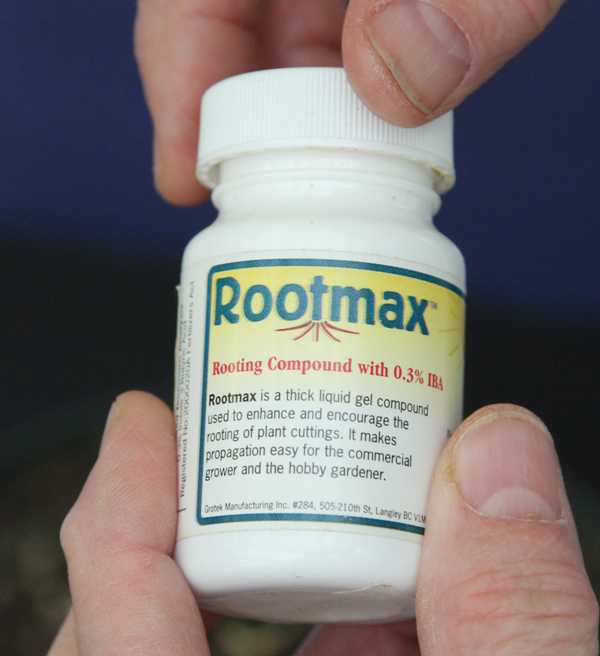 |
Assemble the materials
For air-layering you will need the following materials:
1. Unmilled (long-strand) sphagnum moss
2. Tepid water
3. A container to hold water and sphagnum moss
4. A sharp, sterile knife
5. Toothpicks or another applicator
6. Rooting hormone
7. Clear plastic
8. Twist ties |
|
|
Remove excess leaves
Leaves near the intended cut and all leaves on the stem to be air-layered below the cut (inward toward the rest of the plant) should be removed.
|
|
|
Wipe off any sap flow
If the cut oozes (as it would for an India rubber plant as shown), simply wipe off the ooze and continue. This may have to be done several times during the air-layering process. Clean the knife if it becomes encrusted with sap and continue. |
|
|
Make the bottom cut on the stem
About 1/2 to 1 inch below a node (where a leaf is attached to the stem) make a shallow cut straight into the stem, beginning at the front and going all the way around the entire stem in one continuous cut. |
|
|
Make the top cut on the stem
Leaving about 1/2 to 1 inch of clear stem above the bottom cut, make a second shallow cut straight into the stem, beginning at the front and going all the way around the entire stem in one continuous cut.
|
|
|
Remove the band of bark
Carefully remove the bark by cutting up and down making sure not to cut into the wood of the stem. On some plants a ring of bark may come off easily. On other plants it may take some careful cutting.
|
|
|
Scrape the stem
After the ring of bark is removed gently scrape the stem to remove any cambium (the tissue that divides and produces more wood and bark) that is present.
|
 |
Let the area dry overnight or at least 12 hours
To reduce the possibility of rot, allow the area to dry overnight or for a day. It is not necessary that the area be covered with moss and plastic at this time. Water will still reach the leaves from the xylem (wood) that is still intact. This will also ensure that any cambium that is still present is killed. If cambium is still present, it may grow and bridge the gap, slowing or preventing rooting.
|
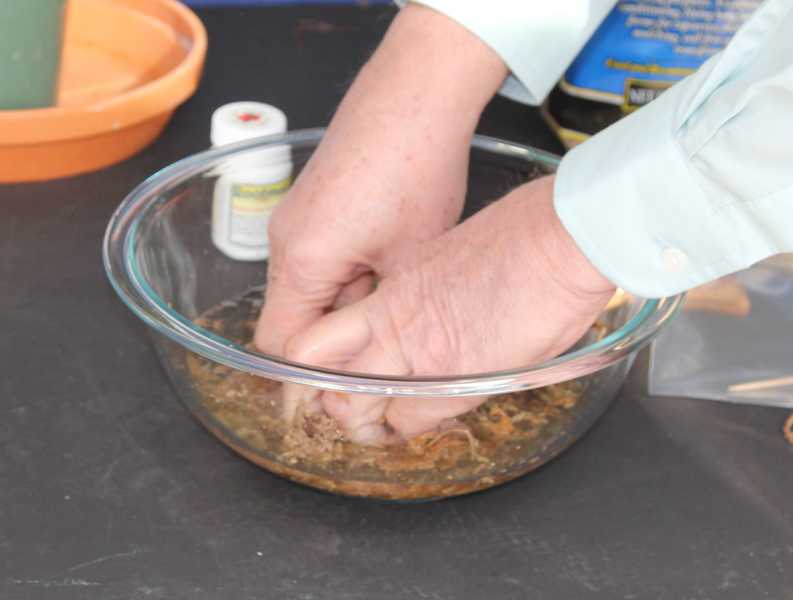 |
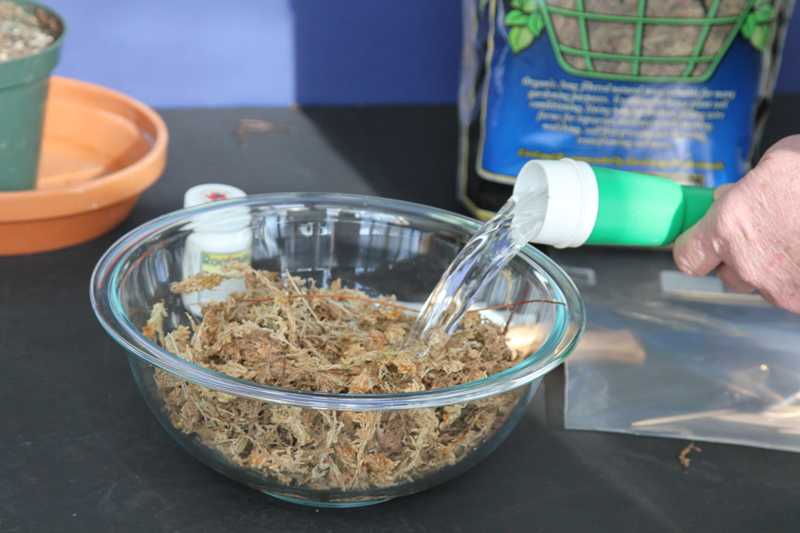
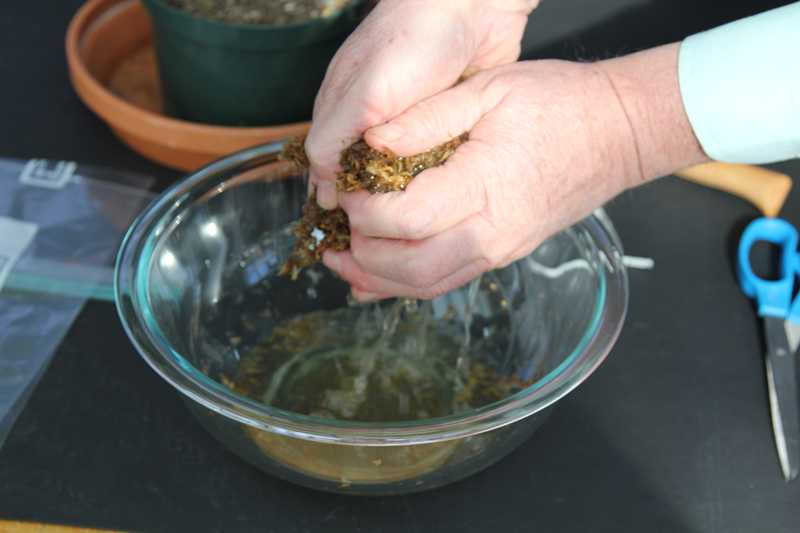
The next day, soak the sphagnum moss
Place the sphagnum moss in a bowl and cover with water. Squeeze the moss a few times to help it absorb the water. Let it soak while you prepare the plant. |
|
|
Apply rooting hormone
To encourage roots to form, place rooting hormone along the top cut. Roots will only form at this location.
|
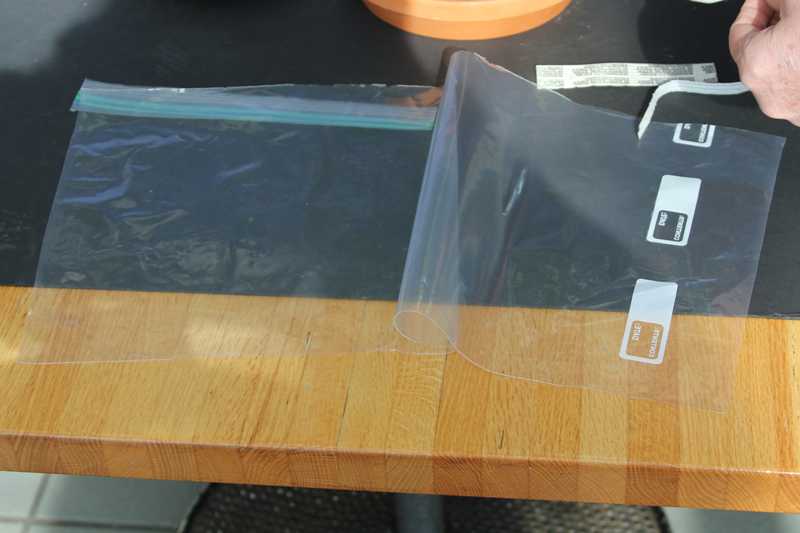 |
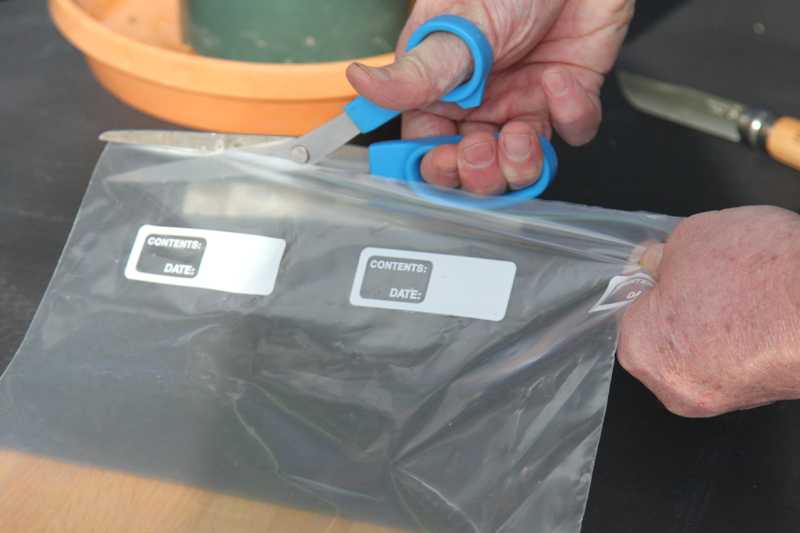
Prepare the plastic cover
Cut a piece of plastic to form a flat sheet about 12 inches by 18 inches. (Here, a plastic bag is being used.) Remove the top and slit the sides leaving the bottom intact. Fold out to make a flat sheet.
|
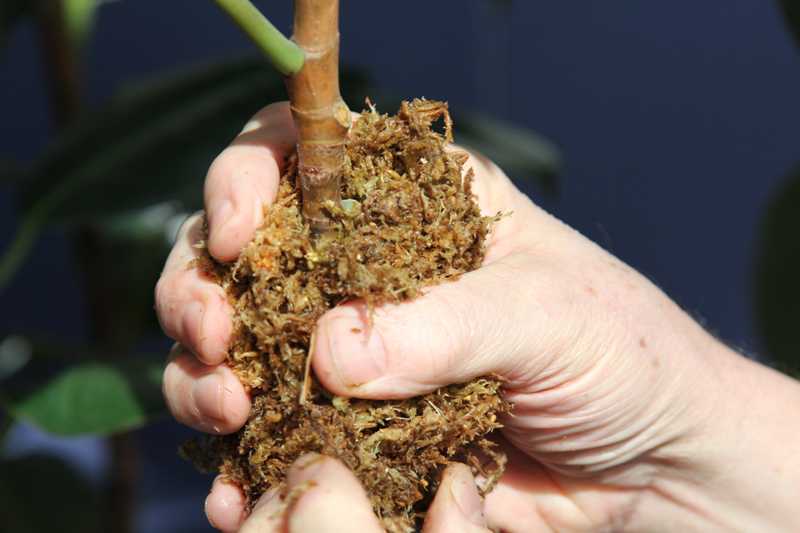 |
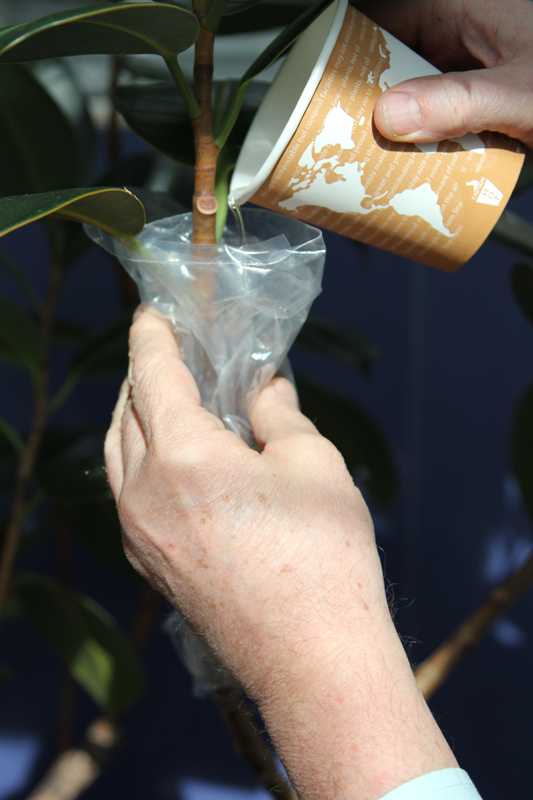
Surround the cut stem with sphagnum moss
Take a handful of the wet sphagnum moss and squeeze out the excess moisture so it is still damp but not dripping. Form it into a ball. Open up the ball and surround the stem with the damp sphagnum moss so that the sliced stem is in the center of the ball. Close the sphagnum moss around the stem.
|

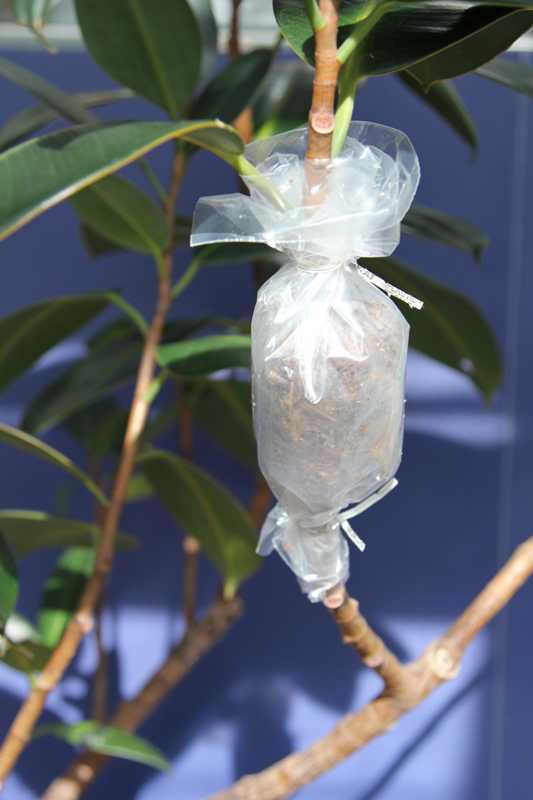 |
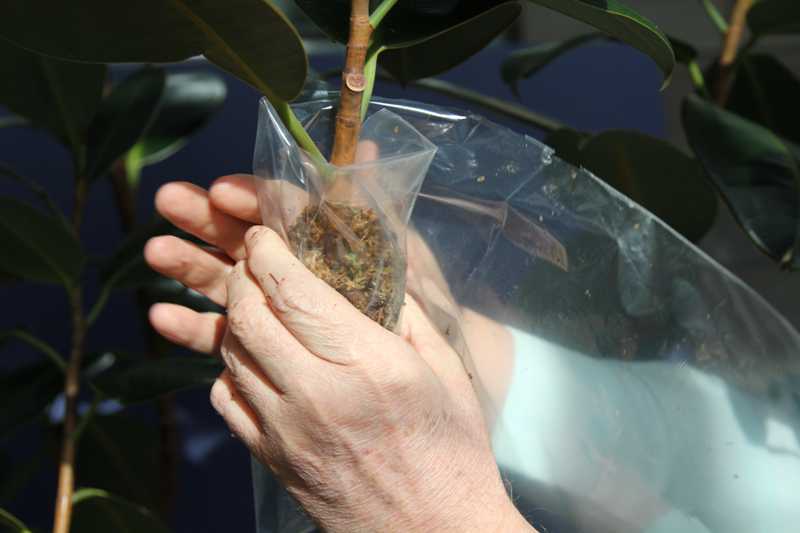
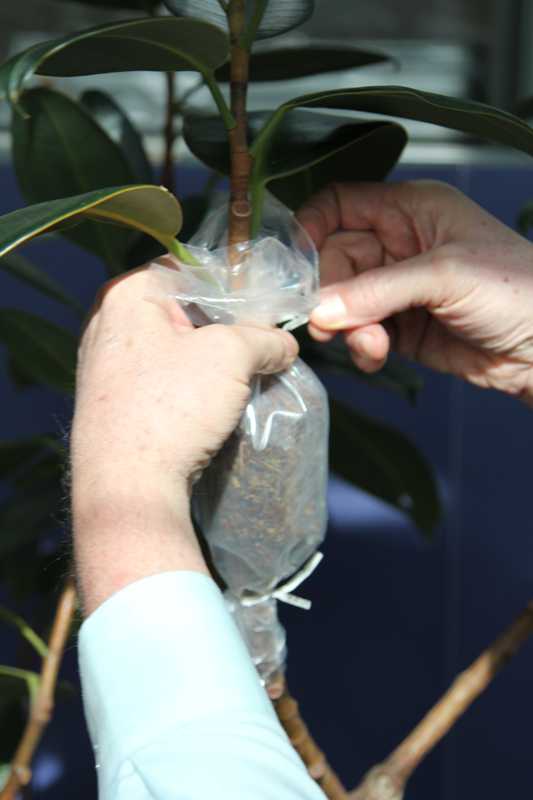
Provide a constantly moist environment
While holding the sphagnum moss in one hand, wrap the plastic around the sphagnum moss so it is fully enclosed in the plastic. Tuck any loose sphagnum moss that is sticking out the bottom back into the ball inside the plastic and put a twist tie around the bottom of the plastic wrap. Tuck in any loose sphagnum moss sticking out the top and put a twist tie around the top. Make sure that none of the sphagnum moss is poking out. If it is, it will act like a wick and the sphagnum moss will dry out more quickly.
|
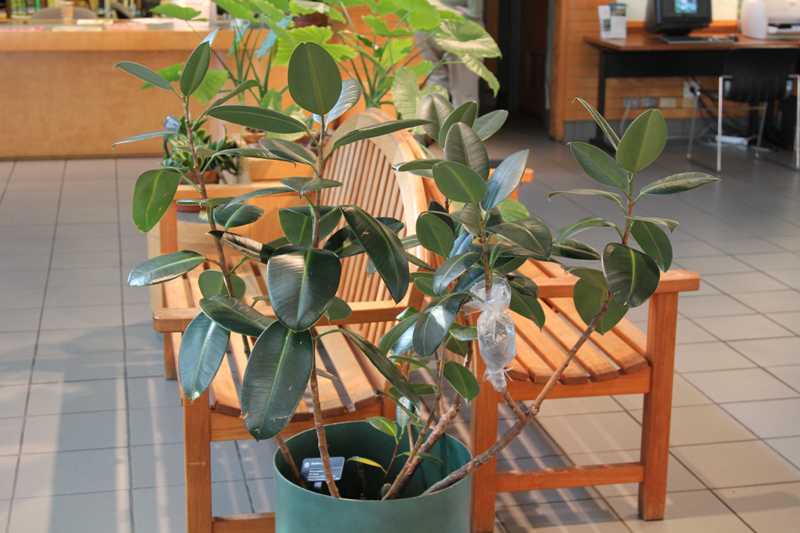 |
Return the plant to its usual growing location
Return the plant to its usual growing location and monitor weekly.
|
 |
Monitor the moisture level in the sphagnum moss
If the sphagnum moss starts to dry out (the color will change from brown to a light tan), open the top twist tie and add some water, then re-seal.
|
 |
When roots have formed
It will take 1-3 months for rooting to take place, in some cases longer. Do not separate the air-layered plant when the first root appears, but do watch watering carefully at this time as the new roots will absorb water from the sphagnum moss. Add water as needed. When abundant roots are seen growing through the moss and encircling the plastic the air-layered plant is ready to be separated from the mother plant.
|
 |
Materials needed to complete the project
1. Pruning shears
2. A pot slightly larger than the root ball
3. Potting soil
4. Water
|
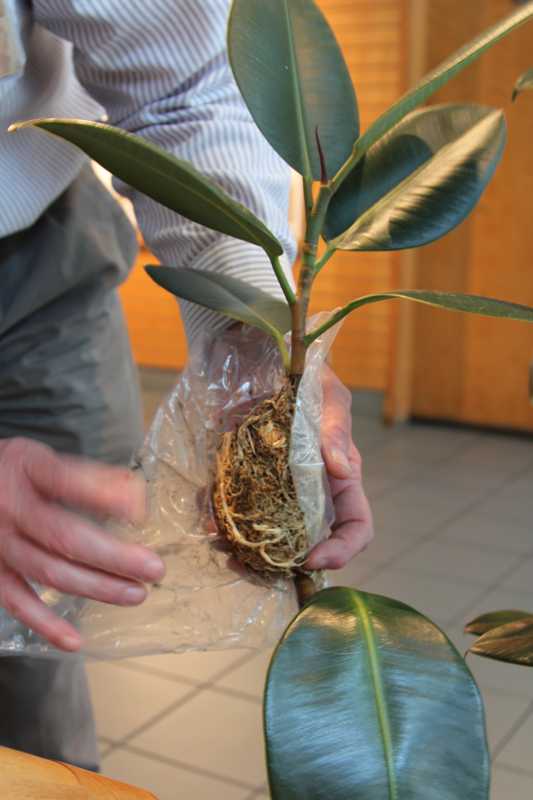 |
Remove the plastic
Take off the twist ties securing the plastic to the stem and remove the plastic from the root ball.
|
|
|
Separate the air-layered plant
Sever the stem just below the point where the roots have emerged.
|
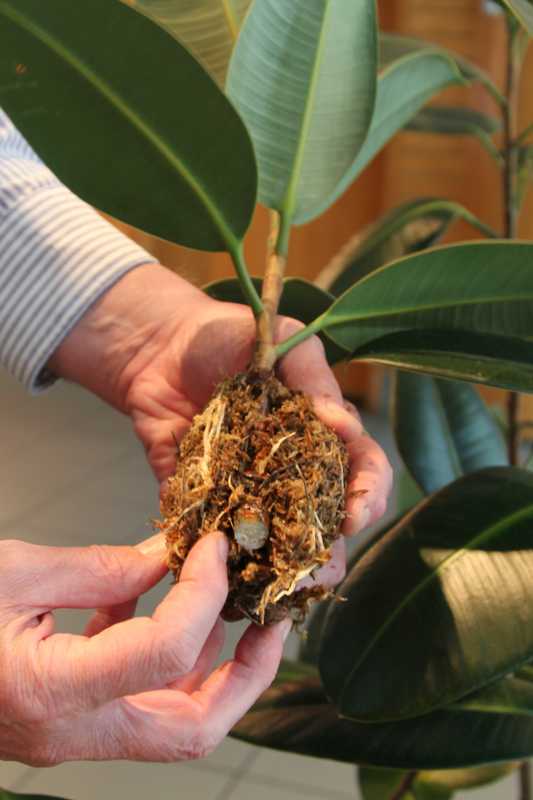 |
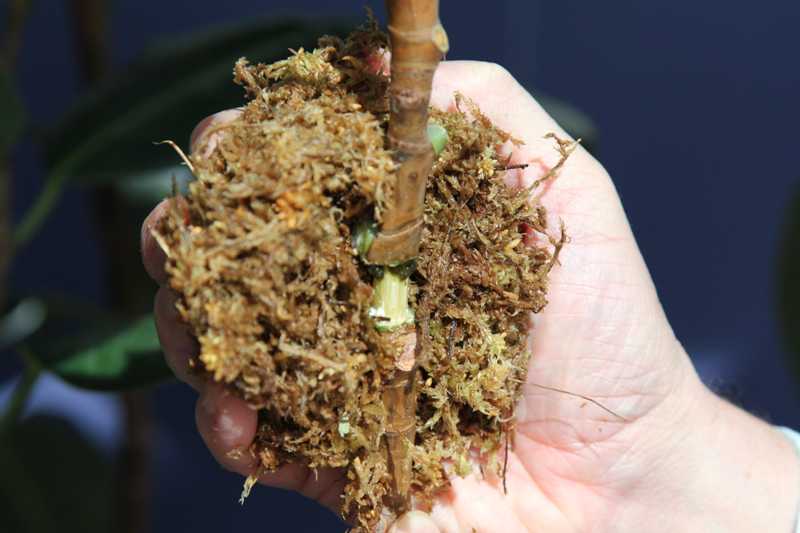
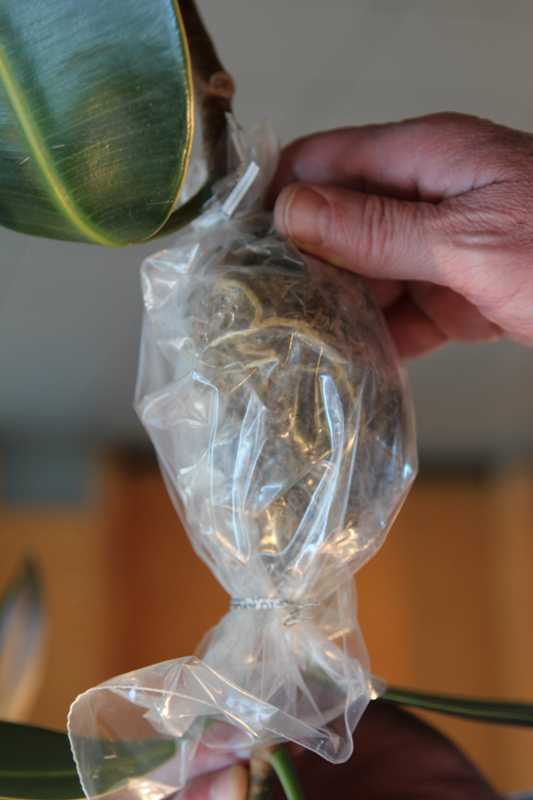
For fun, examine the new roots
Here the sphagnum moss has been gently separated to show where the roots have developed. They have formed just above where the ring of bark was removed.
|
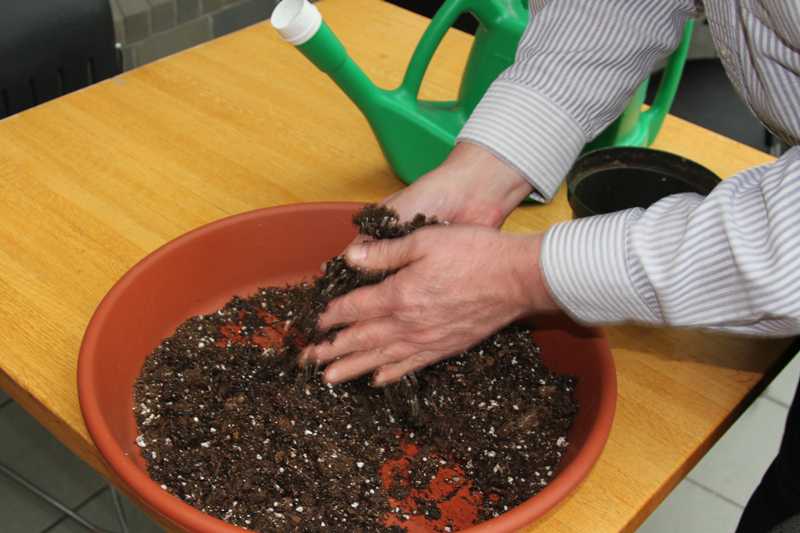 |
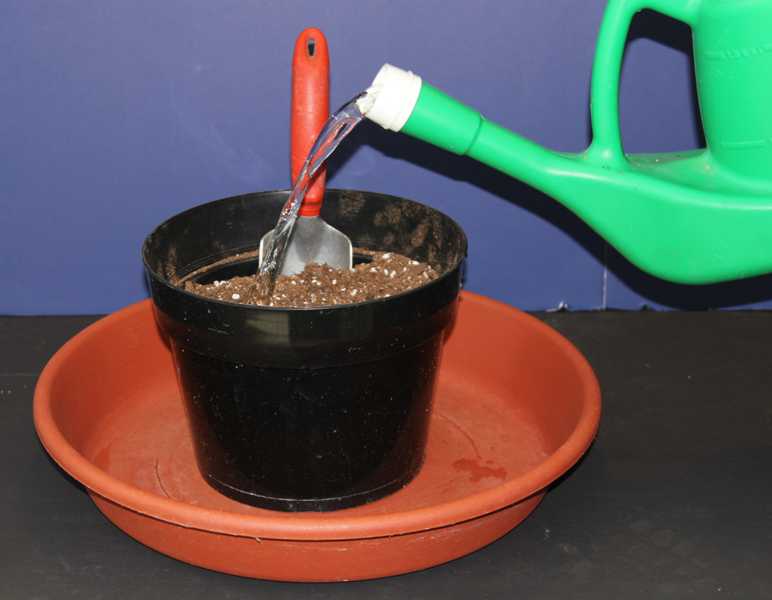
Moisten the potting soil
Add water sparingly to the potting soil, mixing thoroughly until it is moist but not soggy.
|
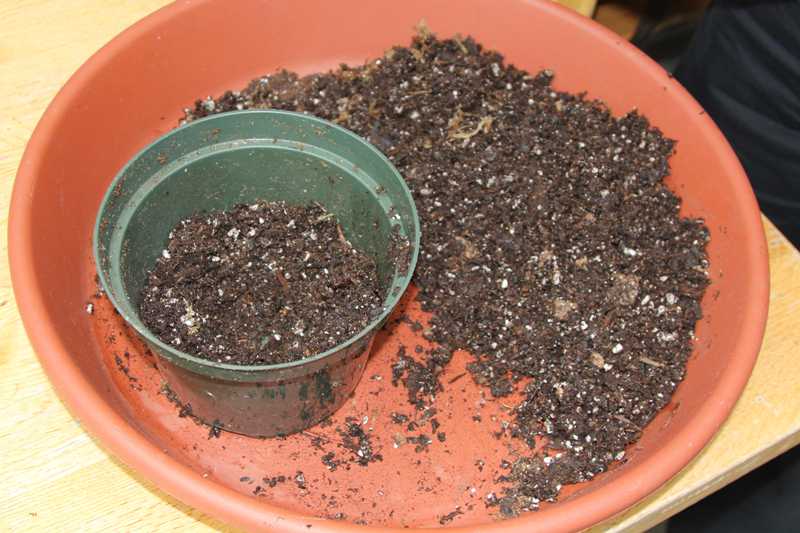 |
Adding potting soil to the pot
Add enough moist potting soil to the bottom of the pot to raise the top of the root ball about an inch below the rim of the pot.
|
|
|
Putting the plant in the pot
Gently tease the roots away from the root ball and spread them out over the soil.
|
|
|
Filling in soil around the plant
Fill in soil around the root ball firming as you go. Finish with the soil about one inch below the rim of the pot to allow for watering. Water the plant thoroughly to settle the soil around the roots.
|
 |
Your plant is now ready to grow
Place your new plant in a suitable location.
|
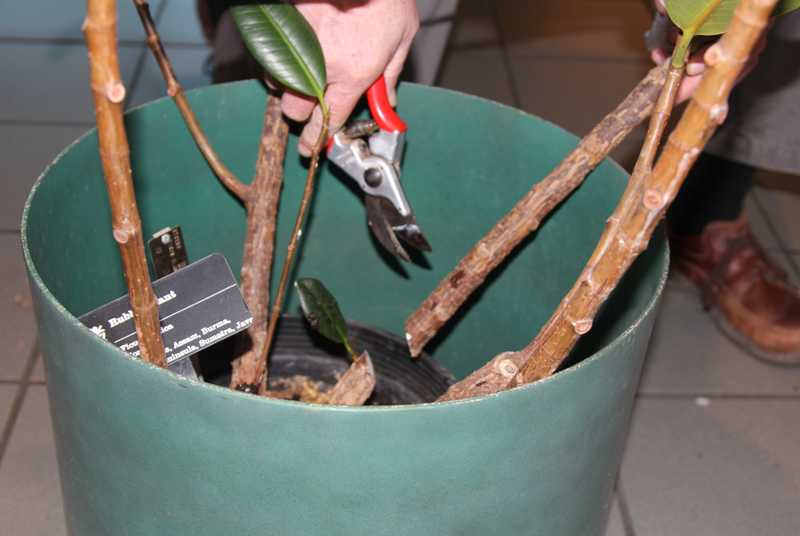 |
What to do with the mother plant
In this case the now barren stem is cut back to about 4 inches from the soil where a small shoot is developing. This will help keep the plant compact.
|
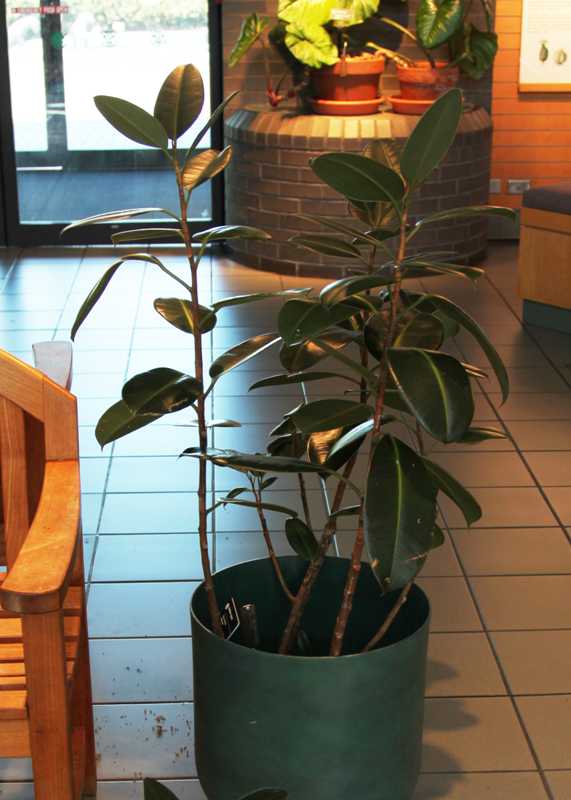 |
Return the mother plant to its growing location
Here the mother plant has been returned to its usual growing location where it has thrived for many years.
|